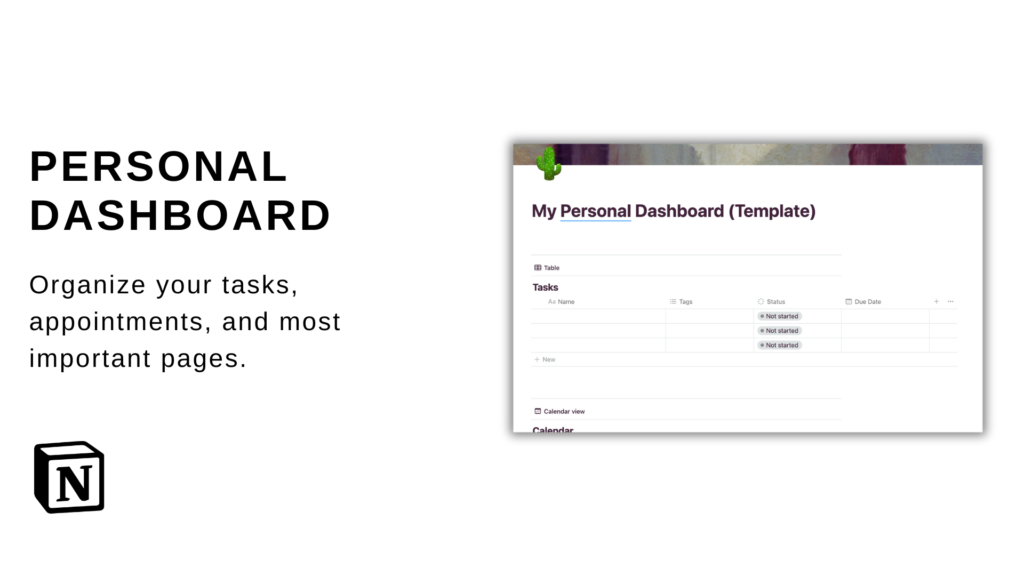
Creating a personal dashboard in Notion is a great way to centralize all your important information and tasks.
Here’s a step-by-step guide on how to set up your own personal dashboard template:
 Don’t want to build your own? Grab this template, copy it and customize it.
Step 1: Create a New Page
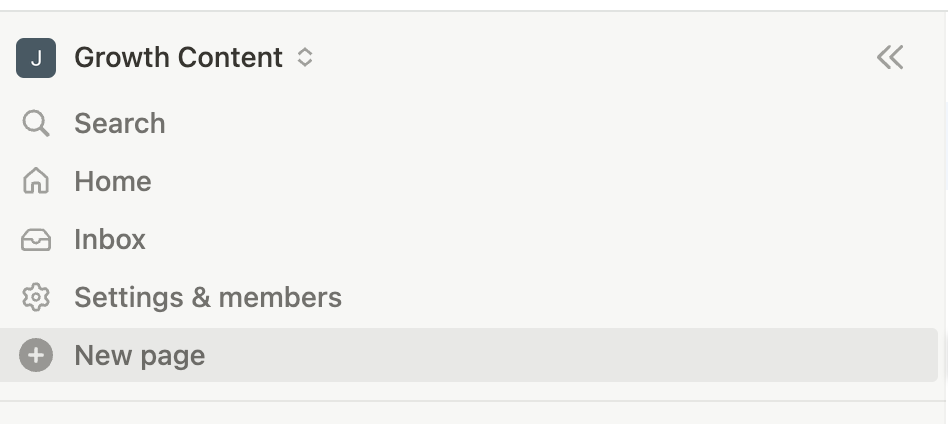
- Open Notion to your workspace.
- In the sidebar, click on the “+” icon or “Add a page” at the bottom.
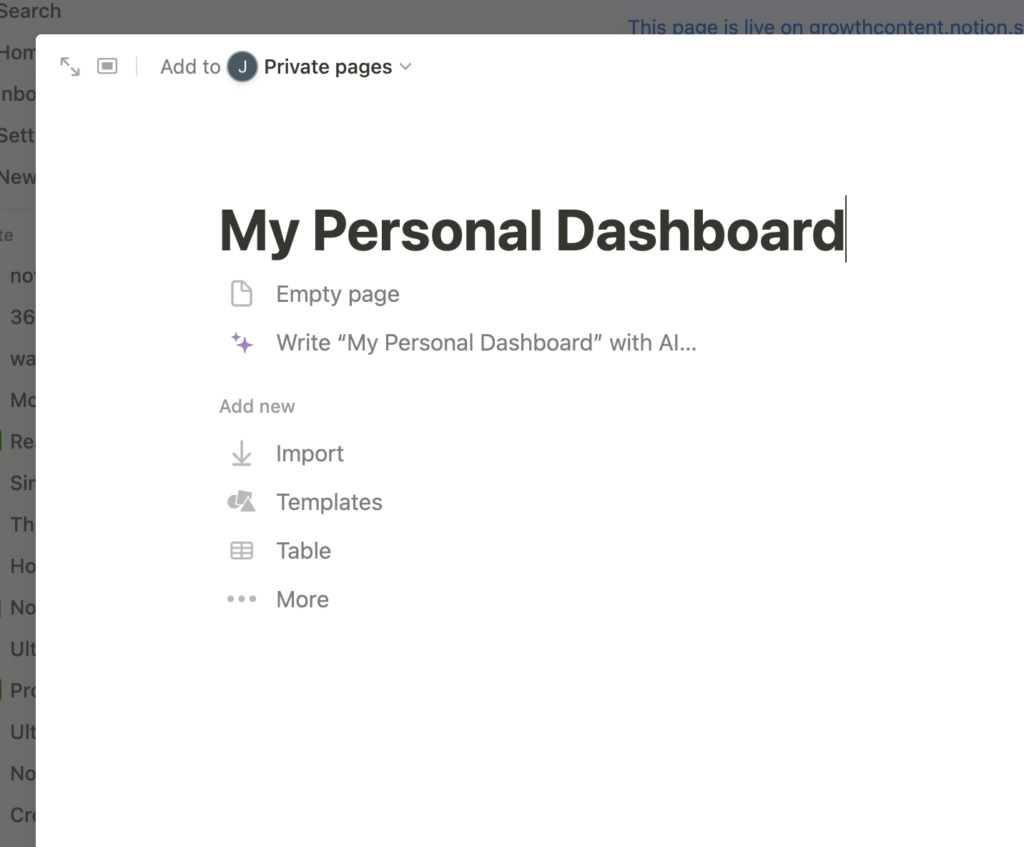
- Name your page something like “My Dashboard.”
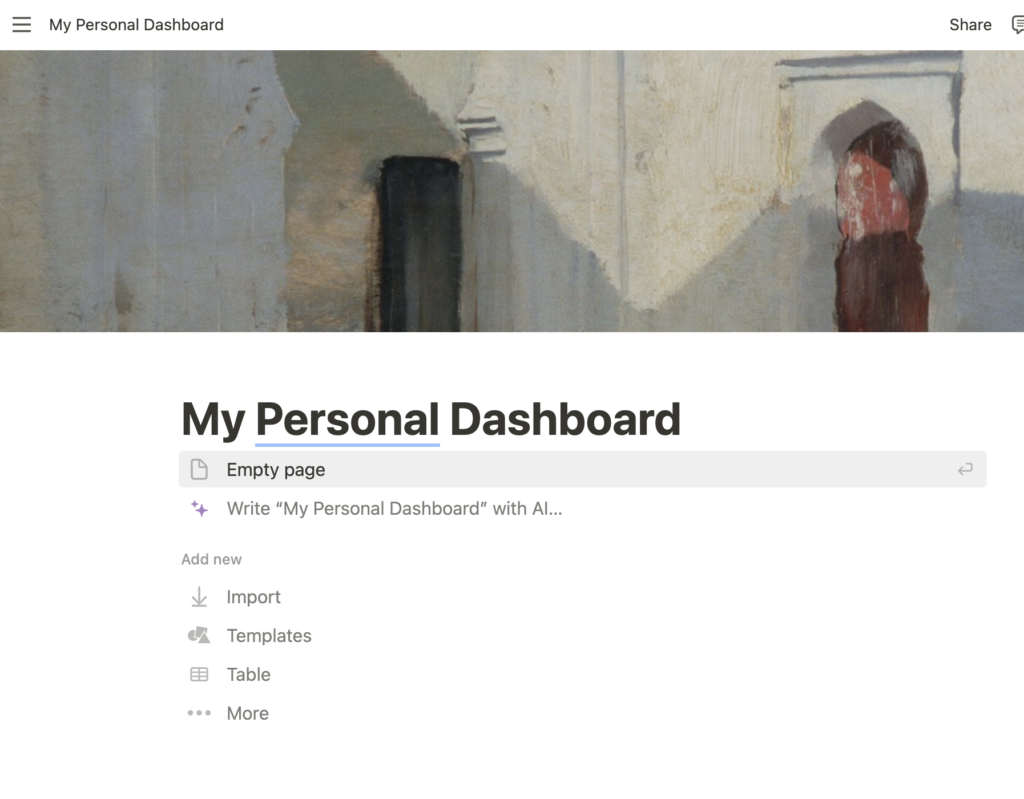
Step 2: Add a Cover and Icon
- At the top right of your new page, click on “Add Cover” to select a cover image that inspires or relaxes you.
- Next to the title of your page, click on “Add Icon” to select an icon that represents the dashboard for easy identification.
Step 3: Define the Layout
- Decide how you want to structure your dashboard. Many people prefer a mix of linked databases, direct links to important pages, and widgets (like calendars or task lists).
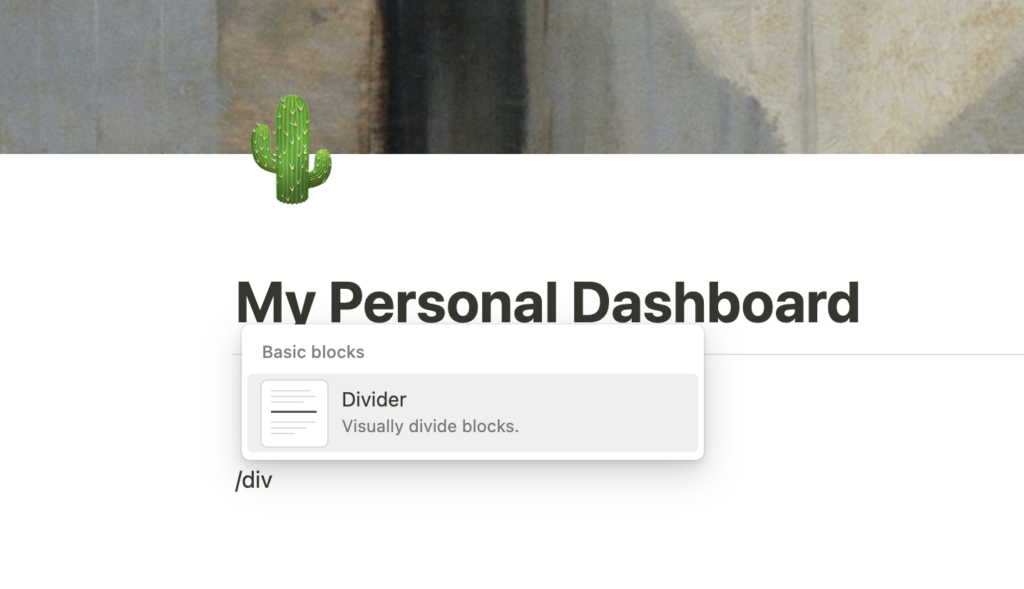
- You can use Notion’s block system to divide your dashboard into sections. Type “/” and then “divider” to add dividers between different sections.
Step 4: Add Key Components
Widgets and Blocks
- Tasks: Type “/table to create an inline table for managing your tasks. You can name it “Tasks” and add columns for Status, Due Date, Priority, etc.
- Calendar: Type “/calendar-inline” to insert a calendar view to keep track of important dates.
- Notes: Add a linked database of your notes by typing “/linked” and then choosing the notes database you want to link to your dashboard.
Links to Important Pages
- Create links to other pages: Type “/link” to add a link to any other important pages you often use, like project pages or personal journals.
Quick Notes Section
- Quick capture: Add a toggle list by typing “/toggle” and name it “Quick Notes.” Inside the toggle, you can quickly jot down notes or ideas that you can categorize later.
Step 5: Customize with Widgets
- For additional functionality, consider embedding external content like weather widgets or news RSS feeds. Type “/embed” and paste the URL of the content you want to embed.
Step 6: Personalize Your Dashboard
- Add images, motivational quotes, or anything else that personalizes your space and makes it more engaging to use. Simply type “/image” to upload images or “/quote” to format text into a blockquote.
Step 7: Set Up Filters and Sorts (Optional)
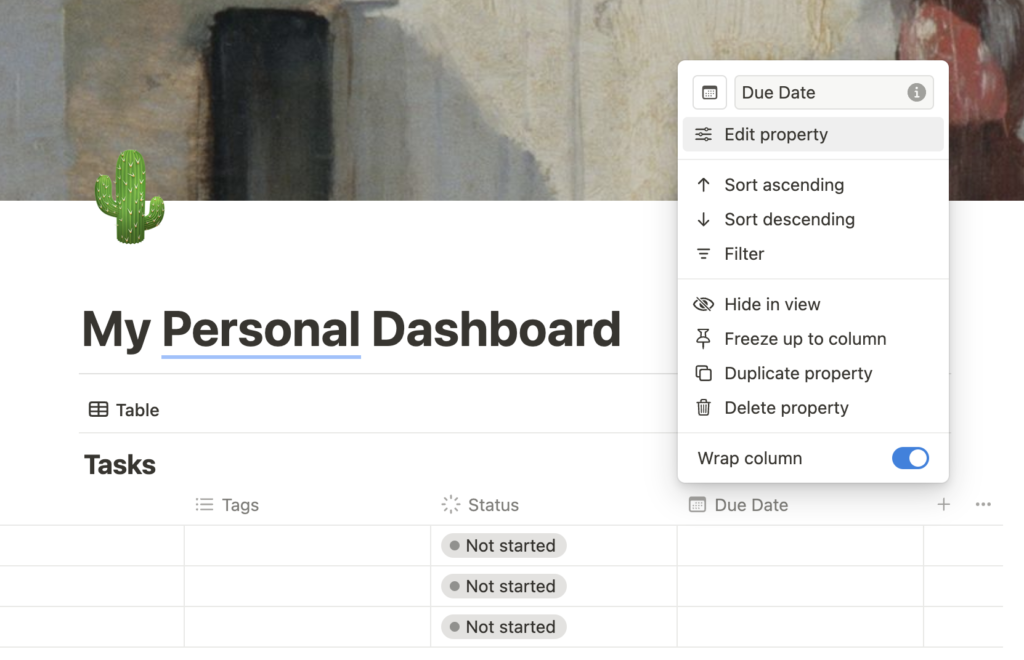
- For any inline databases like tasks or calendars, you can set filters to only show relevant items. For example, in tasks, you might add a filter to show only tasks that are due this week.
- Use the “Sort” option to organize items in a way that suits you, like sorting tasks by due date or priority.
Step 8: Share Your Dashboard (Optional)
- If you want to share your dashboard with others (for family projects or collaborating with a partner), click on the “Share” button at the top right and invite them via email or send them a link to the dashboard.
Step 9: Regular Updates
- Regularly update your dashboard to reflect any changes in your priorities or to add new sections as your needs evolve.
Creating a personal dashboard in Notion is all about making a space that caters specifically to your needs and helps you stay organized and productive.
As you get more familiar with Notion, you’ll find more ways to enhance and customize your dashboard to better fit your lifestyle.
Here are the step-by-step guidelines for how to build a personal Notion dashboard.
Want to get started right away without building this dashboard? Grab it here and start adding your info right away.